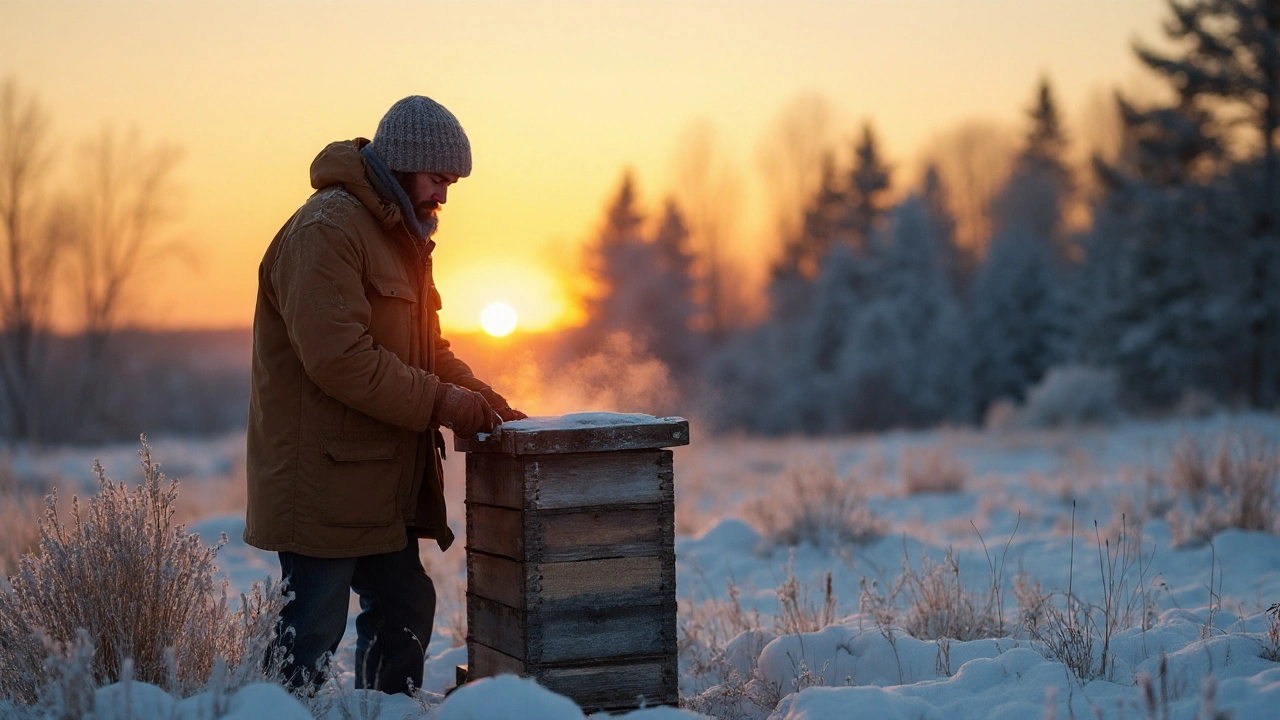
Beehive is a managed wooden or plastic structure that houses a honey bee colony, typically composed of a brood box, honey supers, and a bottom board. Keeping a beehive healthy during winter is the core challenge for every beekeeper.
When the mercury drops, a thriving colony doesn’t hibernate-it forms a winter beekeeping cluster, shivering to generate heat and survive on stored food. The goal of this guide is to walk you through the exact jobs you need to finish before the first frost: ensuring the queen stays productive, sealing the hive against cold drafts, and keeping pests at bay.
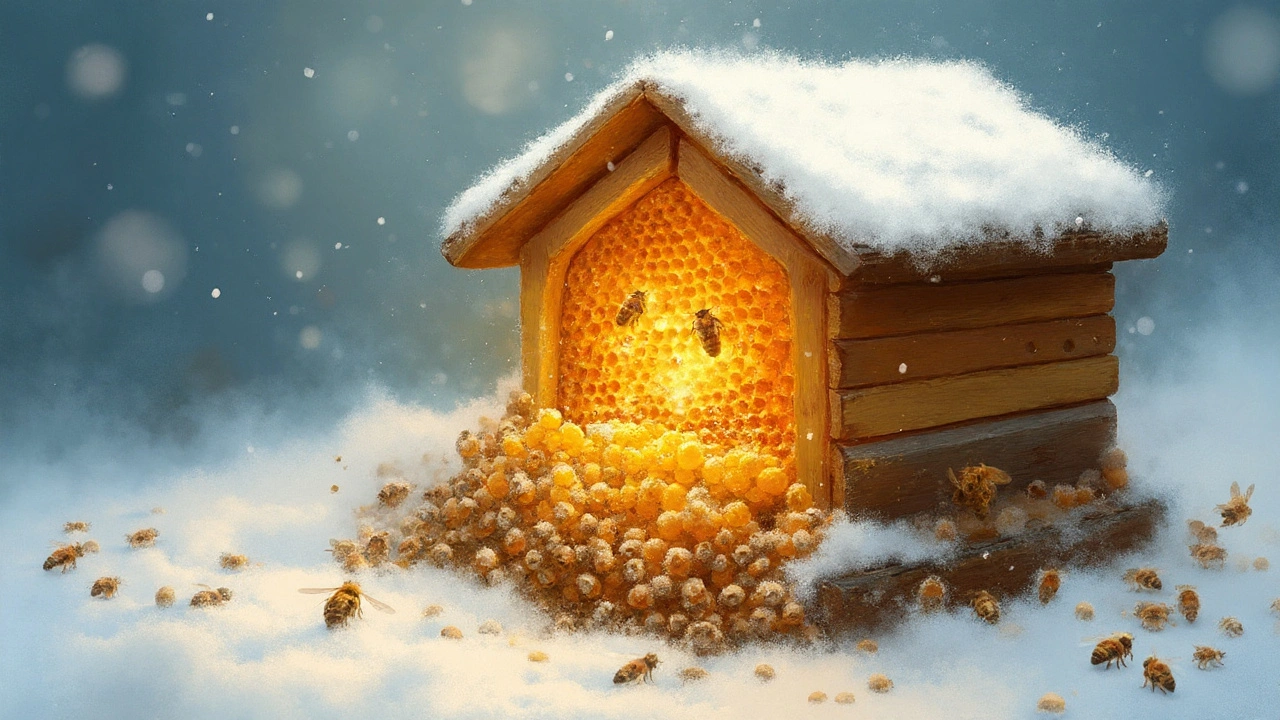
Understanding the Winter Cluster
The Winter Cluster is a tight grouping of worker bees that surrounds the queen bee to retain heat. The cluster can raise the internal temperature to about 34°C (93°F) by vibrating their flight muscles. This thermoregulation works only if enough honey is available and the hive remains insulated.
Key attributes of a healthy cluster:
- Core temperature around 34°C
- Peripheral temperature no lower than 15°C
- Stable humidity (50‑60%) to prevent desiccation
Preparing the Queen and Workers
The Queen Bee is a sole reproductive female that lays all eggs in the colony. During winter she reduces egg‑laying frequency but must remain alive to repopulate in spring. Ensure the queen has enough space and is not crowd‑pressed.
Steps:
- Check that the queen is present and marked.
- Remove any excess frames that could cause congestion.
- Leave at least one full frame of honey and pollen below the queen.
The Worker Bee population should be at least 15,000 individuals to maintain the heat. If numbers are low, consider feeding a supplemental sugar syrup in early autumn (1:1 sugar to water) to boost stores.
Securing Food Stores
Honey is the primary winter fuel. A healthy colony needs roughly 30‑60lb (14‑27kg) of honey, depending on climate. Evaluate food stores by gently lifting the frames; honey should be at least 80% capped.
If stores are insufficient:
- Feed a 2:1 sugar‑water syrup in a winterized feeder.
- Avoid placing feeders inside the hive; external feeders reduce moisture buildup.
Insulating the Hive
Insulation reduces heat loss and stabilizes temperature. Choose materials based on cost, R‑value, and ease of installation.
| Material | R‑Value (per inch) | Cost (AU$ per sqft) | Installation Ease |
|---|---|---|---|
| Rigid Foam Board | 4.0 | 2.5 | Simple cut & fit |
| Straw Bales | 2.5 | 1.0 | Bundle around hive |
| Wooden Shingles | 1.4 | 3.0 | Nail to outer cover |
| Cardboard | 0.7 | 0.3 | Wrap tightly |
For most Australian backyard beekeepers, a 1‑inch layer of rigid foam board around the outer cover offers the best balance of R‑value and durability. Secure the board with zip ties and seal gaps with silicone sealant.
Managing Entrance and Ventilation
The Entrance Reducer is a small wooden or plastic plate that narrows the hive’s entrance to ¼‑½ inch. A reduced entrance keeps cold drafts out while still allowing bees to exit for foraging on warm days.
Ventilation is still vital; without it, moisture condenses and can freeze the cluster. Install a small upper vent (½ inch) near the top of the outer cover, covered with mesh to keep pests out.
Monitoring Temperature & Humidity
The Temperature Monitoring Device (often a digital thermo‑hygrometer) lets you track internal hive conditions without opening the hive.
Recommended specs:
- Range: -10°C to 45°C
- Accuracy: ±0.5°C, ±3% RH
- Battery life: ≥12months
- Wireless alerts via phone app
Place the sensor between the brood box and the first honey super, allowing it to record the core temperature of the winter cluster.
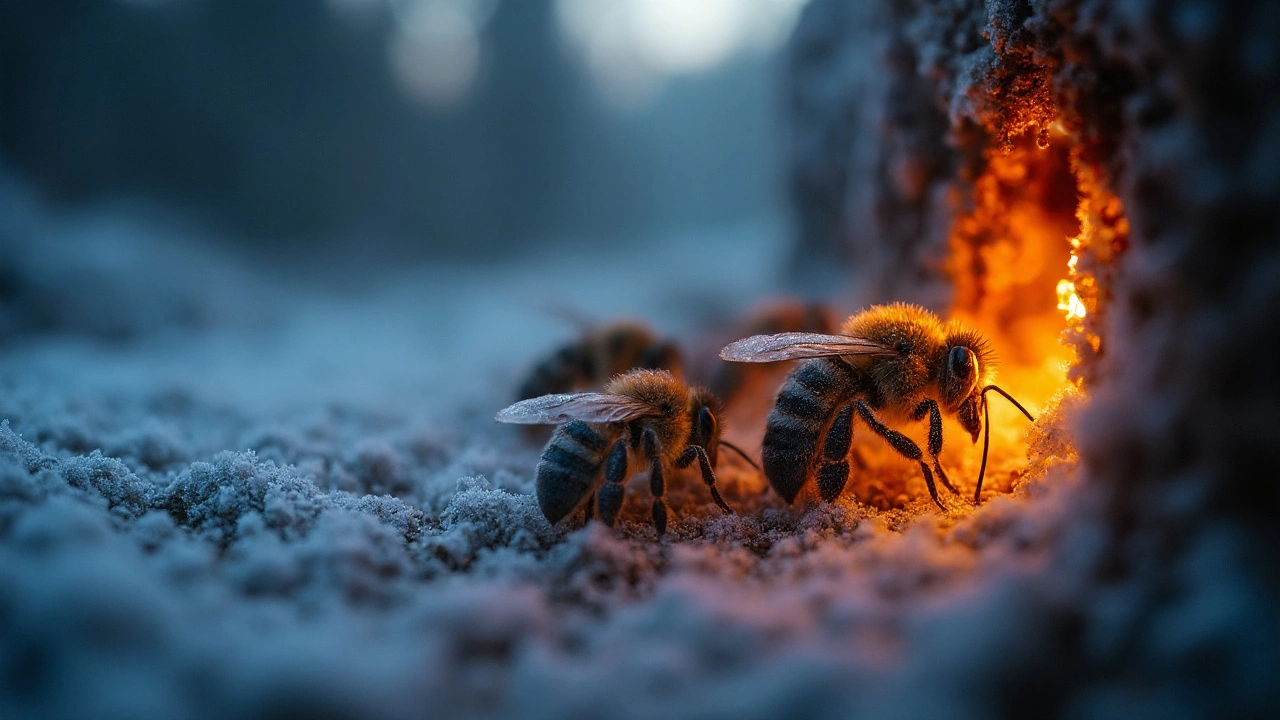
Handling Pests: Varroa Mite Management
The Varroa Mite is an external parasite that weakens bees by sucking hemolymph. While mite populations tend to drop in cold weather, a heavy infestation can still kill a colony.
Winter strategies:
- Apply a soft acaricide (e.g., oxalic acid vapor) in early autumn, before brood rearing slows.
- Use screened bottom boards to encourage mite drop.
- Monitor mite levels in spring with a sugar roll test.
Winter Hive Management Checklist
- Confirm queen presence and health.
- Verify honey stores meet 30‑60lb threshold.
- Install entrance reducer and upper vent.
- Wrap hive with selected insulation material.
- Place temperature monitoring device and set alerts.
- Treat for Varroa mites if counts exceed 3%.
- Schedule monthly visual checks (quick glance, no opening).
Following these steps dramatically reduces winter losses and sets the stage for a strong spring buildup.
Frequently Asked Questions
How much honey should a hive have before winter?
A typical colony needs 30‑60lb (14‑27kg) of capped honey to survive a cold season. In colder regions, aim for the upper end of that range.
Can I leave the hive entrance fully open in winter?
No. An open entrance lets cold drafts melt the cluster’s heat. Use an entrance reducer to limit the gap to ¼‑½ inch while still allowing occasional foraging.
What is the best insulation material for Australian climates?
Rigid foam board offers the highest R‑value per inch and resists moisture, making it the top choice for most backyard setups. It’s also easy to cut and fit around the outer cover.
Do I need a temperature sensor if I can feel the hive temperature?
Relying on touch is risky-temperature can drop quickly at night. A digital sensor gives continuous data and alerts you before the cluster becomes stressed.
How should I treat Varroa mites before winter?
Apply oxalic acid vapor or a sugar‑dust treatment in early autumn when brood production slows. Follow label instructions and re‑check mite levels in spring.
Is supplemental feeding necessary if I have enough honey?
If the honey stores are above the recommended amount and are mostly capped, supplemental feeding isn’t needed. Feeding only helps if stores are borderline.
What signs indicate the queen has died over winter?
A sudden drop in egg‑laying, lack of new brood, and a disorganized cluster are clues. Inspect the brood area in early spring; if no eggs are present, the queen likely perished.


David Ross
September 25, 2025 AT 17:38Winter beekeeping can feel intimidating, but you've got this, my friend! Make sure to check the queen’s marking early, keep those frames tidy, and stock up on capped honey, because a well‑fed colony is a happy colony. Insulating with rigid foam is cheap, effective, and easy to install-just zip it up and seal the gaps, and you’ll thank yourself when the frost rolls in. Remember, a healthy cluster can shiver its way through the cold, so keep the entrance small but not blocked, and monitor humidity to avoid desiccation. Good luck, and may your hives thrive this winter!
Henry Seaton
October 10, 2025 AT 11:38Check the queen before frost hits. Make sure the hive isn’t crowded. Use a small entrance reducer.
Baby Thingie
October 25, 2025 AT 05:38Great guide on winter beekeeping :)
Abby Elizabeth
November 8, 2025 AT 22:38Ugh, I can’t even with the stress of winter-so many things to juggle! The honey stores, the cold drafts, the queen possibly dying… it’s like a soap opera for bees. I tried insulating with cardboard once and it just got soggy, ugh. Drama, drama, drama, but we’ll survive, right?
Michael Taylor
November 23, 2025 AT 16:38Preparing your hives for winter is not just a checklist, it’s a ritual that honors the bees and respects the seasons; you start by confirming the queen’s health, because without a fertile monarch spring will be bleak, and you can do this with a simple visual inspection, looking for a marked queen and a calm cluster. Next, evaluate your honey stores, aiming for at least thirty pounds of capped honey, and if you fall short, feed a 2:1 sugar‑water syrup in a winterized feeder, but remember to place the feeder outside the brood box to prevent moisture buildup; excess moisture can be deadly for the cluster. Insulation is the next pillar-rigid foam board offers the highest R‑value per inch, it’s easy to cut, and you can secure it with zip ties and silicone, creating a snug envelope around the outer cover, which will dramatically cut heat loss; straw bales work too, but they require more maintenance. The entrance reducer should be installed to narrow the gap to a quarter‑inch, allowing the bees to ventilate without inviting cold drafts; a small upper vent with mesh keeps humidity in check while keeping pests out, a balance that many beginners overlook. Temperature monitoring devices are indispensable; place a digital thermo‑hygrometer between the brood box and the first super, set alerts on your phone, and you’ll know instantly if the core temperature drops below thirty‑four degrees Celsius, a threshold the bees fight hard to maintain. Varroa mite management does not stop in autumn; applying oxalic acid vapor before the first cold snap reduces mite loads, and screened bottom boards help the mites fall out, giving your colony a fighting chance. Remember to schedule monthly visual checks-just a quick glance without opening the hive-to ensure the cluster remains tight and the bees are not clustering at the edges, a sign of cold stress. Every step you take, from feeding to sealing, contributes to the colony’s energy budget, allowing the bees to shiver their flight muscles and generate heat, a marvel of nature that we are privileged to support. Finally, keep a log of your interventions; noting the dates of feeding, insulation, and mite treatments will help you refine your strategy year after year, turning winter beekeeping from a guesswork task into a science. With diligence, patience, and a bit of love, your hives will emerge from the cold stronger, ready to flood the world with honey in spring. Make sure to clear any debris around the hive entrance, as wind tunnels can funnel cold air directly into the cluster. Check the roof of your apiary for overhanging branches that might shed snow onto the hives, which can cause moisture issues. Consider a small windbreak, like a fence or shrub, on the prevailing wind side, but keep it porous enough for airflow. Rotate your hives each winter if possible, moving them slightly to avoid ground‑level frost pockets. Finally, share your winter successes with fellow beekeepers; community knowledge accelerates improvement for everyone.
Boyd Mardis
December 8, 2025 AT 10:38The checklist you shared is spot‑on; I’ll add a note about clearing debris around the entrance.
ayan majumdar
December 23, 2025 AT 04:38Got it, will use foam and a small reducer. Keep it simple.
Johnpaul Chukwuebuka
January 6, 2026 AT 22:38Great advice! I’ll feed my hives early and wrap them tight. The bees will thank us when spring comes.
Xing yu Tao
January 21, 2026 AT 16:38The wintering of a bee colony can be viewed as a microcosm of societal resilience; the collective thermoregulation mirrors the coordinated effort required in human communities to withstand adversity. By ensuring adequate resources, optimal insulation, and vigilant monitoring, beekeepers embody the principle of stewardship, balancing intervention with natural processes. Moreover, the delicate balance between ventilation and humidity control reflects the philosophical tension between openness and protection. As we contemplate the intricate dance of the winter cluster, we are reminded that survival is not a solitary endeavor but a harmonious symphony of many actors, each essential to the whole. In this light, winter beekeeping transcends mere horticulture, becoming an ethical practice that honors interdependence.
Brett Coombs
February 5, 2026 AT 10:38Sure, but have you considered that the government might be pushing certain insulation materials to control pollination? They love to regulate beekeeping under the guise of “safety”. Keep an eye out.
John Hoffmann
February 20, 2026 AT 04:38The guide correctly emphasizes capped honey percentages; however, it could improve by stating the exact desired temperature range for the cluster. Additionally, mentioning the importance of sealing gaps with silicone adds clarity. Overall, the instructions are solid.
ravi kumar
March 6, 2026 AT 22:38Our beekeeping traditions are superior; we don’t need foreign guidelines. Follow what works locally.